Getting Started with Clarinet-ETS
- Pc installation
- Setting the ETS environment
- Running a test

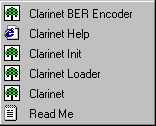
Under the Start/Programs of Windows, the Clarinet x.y group includes the Clarinet shortcut providing access to the Manager Dialog:
Under the Manager Dialog, select the working
directory:
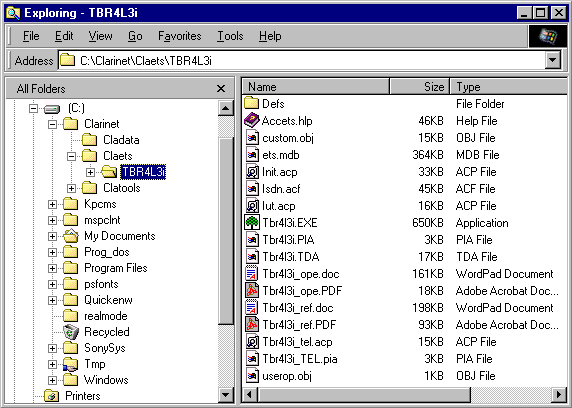
- Set the working directory of the ETS . A specific directory is created
when installing the ETS (under clarinet\claets ). The name of the ETS
directory is provided in the column "Directory name" of the
index.htm file used during installation.
- Read the documentation:
- *_ope.doc or *_ope.pdf files: provide information about the
files included in the current ETS
directory.
- *_ref.doc or *_ref.pdf files: provide information about the ATS
used to generate the package in the current ETS directory.
- Select the profiles of the Tester corresponding to the physical interface
and the option of execution
- Open the profile and edit PICS/PIXIT file to check the default values (See
also the slides ETS_execution)
- Connect the Security-Key to the parallel port.
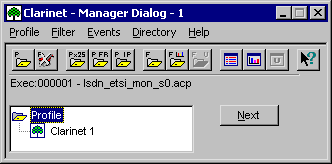
The Clarinet Manager Dialog allows
to launch a test by selecting a Profile from
a list under Run input. The Clarinet Manager
opens a new Dialog-box, the Manager Command box,
providing access to the manual commands of the Manager:
When the profile is under execution, the cursor set on the windows of the
Clarinet-manager displays an animated symbol of the running 
The Manager opens simultaneously:
- one windows for the Clarinet
Protocol Event-Editor: the title displays the event-file
name (*.ace) and the filter file name
(*.acf).
- one window for the ETS execution: the
title displays the ETS name.
See also "How to start execution
of ETS"
| 


![]()